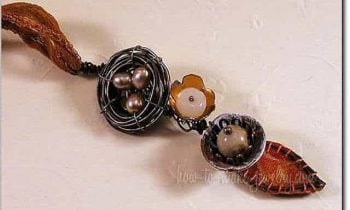
Are you bored of your plain ring bands? Or do you have a plain pendant that needs some personalizing? Why not try etching them with an interesting design or pattern?
Etching is a technique in jewelry making where chemicals are used to cut a design onto a metal surface. It can be a great way to give your dull jewelry some much needed life. Find out the basics of etching to get you started.
The right etchant
The etchant is the mixture of chemicals you’ll need to cut the design onto the unprotected surfaces of your metal. Certain metals can only be etched with certain etchants. So remember to properly match them up.
For example, if you have a base plate of copper, brass or nickel silver you’ll need ferric chloride to etch a design onto it. A base material of sterling silver and fine silver needs a ferric nitrate solution or nitric acid. You should also know that that these etchants are a little more dangerous to use than ferric chloride.
The resist
The resist is the material you use to protect the parts of your base from the etchant. They usually come in the form of inks or tapes. It is also the one used to apply or draw your design with. When you dip your metal base into the chemical bath, the resist-covered areas will comprise the high points of your etch design.
There are a variety of materials which can be used as resists and they usually depend on the designer’s aesthetics.
The process
- Decide on your design. Remember to adapt it to the size of your metal base. You may have a great intricate design but it might be for nothing when your metal base is too small or has an unflattering shape to showcase it.
- Transfer your design onto the matte side of a PnP paper (This will serve as the resist).
- Apply the PnP onto the surface of your metal base. Peel off the paper resist from the metal. Make sure that the metal has cooled before you do this. Observe also if you’re entire design has had the chance to transfer onto the base.
- Now, cover the back of the metal with contact paper. Then coat the edges with clear nail polish to prevent them from etching.
- Pour your etchant of choice into a glass or plastic container so that the metal can float easily. Next agitate the container to get rid of air bubbles from your metal’s surface area.
- Leave the container covered for about 1 ½ hours if you want a prominent etch. Leave it soaking for 30 to 45 minutes if you want a shallow etch.
- While wearing protective gloves, remove the metal base from your etchant mixture.
- Put the metal into a solution of two cups of water and ¼ cup of baking soda. This will neutralize your etchant (only applies if you used ferric chloride).
- Rinse in clear water and then remove the resist.
- To remove all traces of the resist along with other stains, clean the resist off with acetone and a scouring pad. This will also give your metal base a clean and attractive finish.
There you go. The process of etching is a meticulous one. You’ll have to be very careful and precise to get the results you want. But it will definitely pay off in the end.


 Common jewelry making mistakes beginners make and how to avoid them
 DIY Birthstone Jewelry
 5 must learn basic beading stitches for beginners
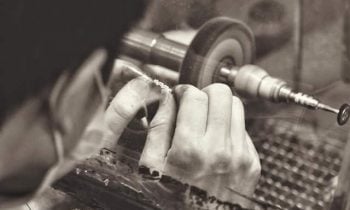 6 essential tools you’ll need as a jewelry-making beginner